How to Apply Blush for a Bold, Bright Makeup Look
HOW TO CREATE A BRIGHT BLUSH LOOK
STEP 1: CHOOSE THE RIGHT BLUSH
The first step to creating a bright blush look is to choose the right product. There are three main types of blush: powder, cream, and liquid.
Powder blush is the most common type of blush. It is easy to apply and blend, and it is a good choice for oily skin.
Cream blush is a good choice for dry skin, as it will help to hydrate and nourish the skin. It is also easy to apply and blend, but it can be more difficult to control the amount of color you apply.
Liquid blush is easy to apply but a bit harder to blend. Liquid blush is great for creating a dewy, glowy look.
STEP 2: PREP YOUR FACE
Start with a clean, dry canvas. To help you makeup stay on longer, prep your face with primer such as Poreless Jelly™ Up to 24Hr Hydrating Blur Primer to start off strong with a hydrating, blurring base.
If you’re planning to wear foundation, as a general rule, use a liquid foundation if you want to use liquid blush, and use a powder foundation if you want to use powder blush. Apply your foundation and concealer before you apply your blush.
STEP 3: APPLY YOUR BLUSH
Once you have chosen a blush, it's time to apply it. The best way to do this is to start with a small amount and gradually add more until you reach the desired intensity.
For powder blush, use a blush brush to apply the blush to the apples of your cheeks. Blend it in well, making sure to avoid any harsh lines.
For cream blush, use your fingers or a damp beauty sponge to apply the blush to the apples of your cheeks. Blend it in well, making sure to avoid any harsh lines.
For liquid blush, use a brush or your fingers to apply the blush to the apples of your cheeks, your temples, and the tip of your nose. Blend it in well, making sure to avoid any harsh lines.
STEP 4: FINISH YOUR LOOK
Once you have applied your blush, you can finish your look with a few additional products.
Add a touch of highlighter to the tops of your cheekbones to help draw attention to your blush.
Apply a coat of mascara to your lashes to help define your eyes.
Finish with a bold lip color to complete your look.
WHAT BLUSH SHOULD YOU USE FOR A BOLD BLUSH LOOK?
When it comes to choosing a blush for a bold blush look, there are a few things to keep in mind.
- First, consider your skin tone. If you have fair skin, you will want to choose a blush in a shade that is slightly deeper than your natural skin tone. If you have medium skin, you can choose a blush in a shade that is the same as or slightly deeper than your natural skin tone. If you have dark skin, you can choose a blush in a shade that is several shades deeper than your natural skin tone.
- Second, consider your undertones. If you have warm undertones, you will want to choose a blush in a warm shade, such as peach, coral, or bronze. If you have cool undertones, you will want to choose a blush in a cool shade, such as pink, rose, or berry.
- Finally, consider the finish you want. If you want a natural-looking finish, choose a blush with a matte finish. If you want a more luminous finish, choose a blush with a shimmery finish.
Here are a few of our favorite Maybelline blushes for creating a bold blush look:
-
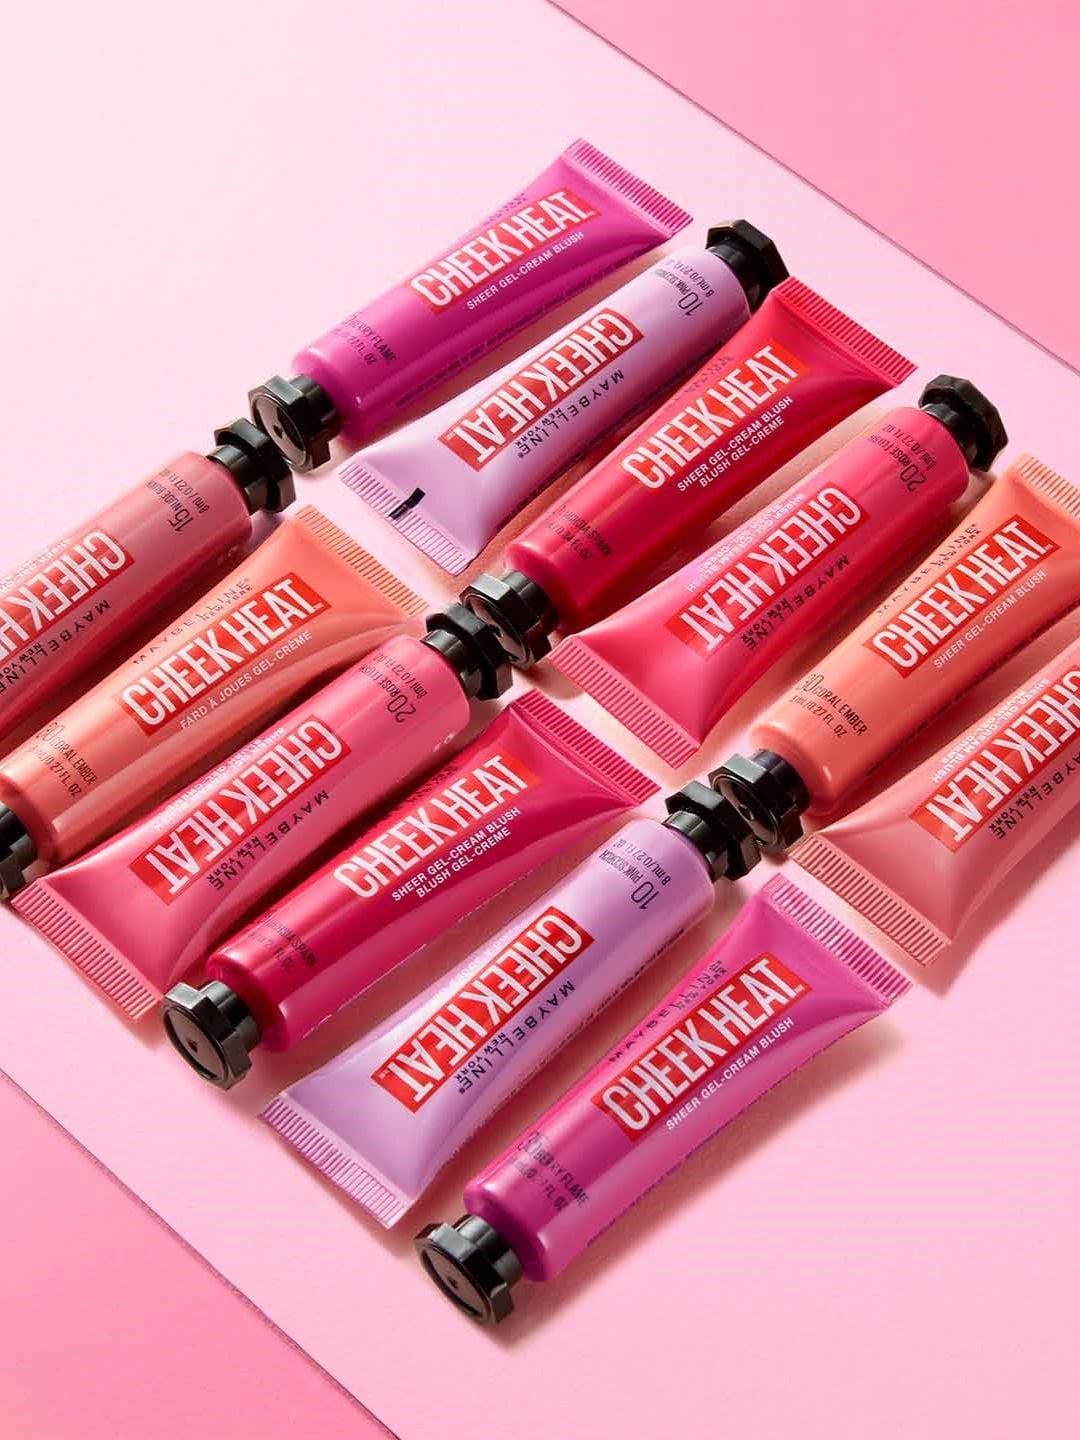
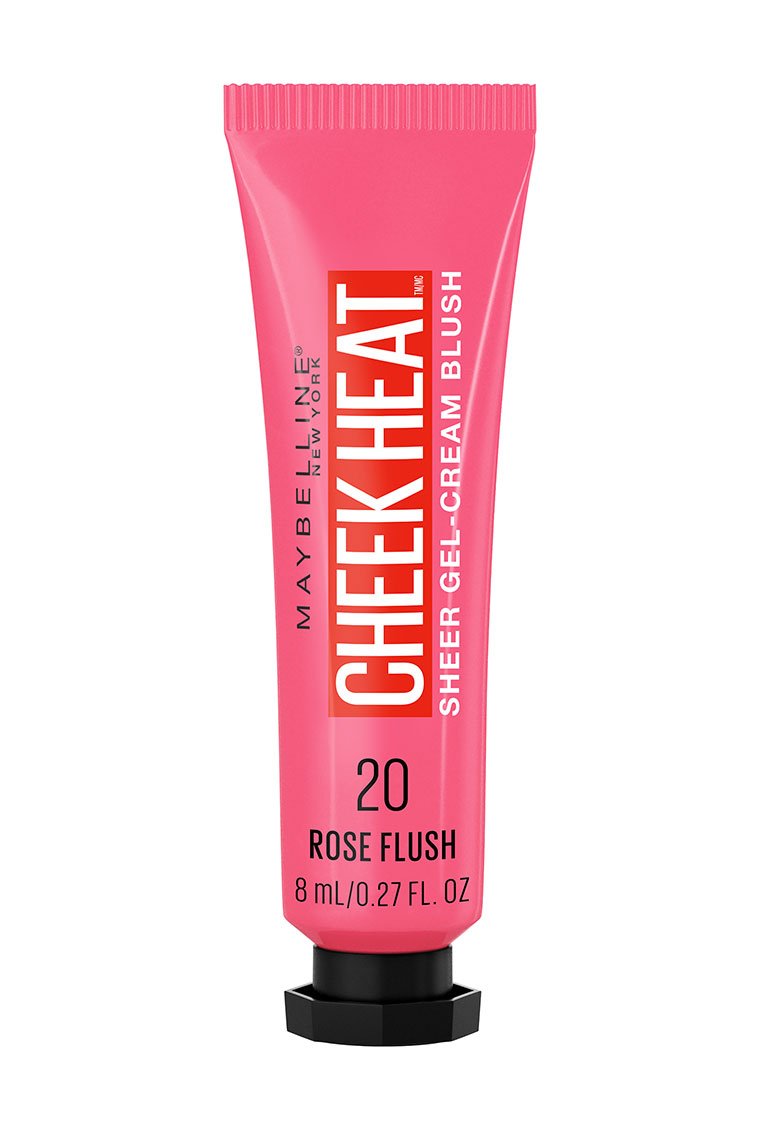
Cheek Heat® Gel-Cream Blush
This glowy gel cream blush melts seamlessly into skin for a natural-looking flush. In six wearable shades, the dewy pigment is buildable, allowing you to layer for a bolder look or just dab on a few dots for a healthy, everyday glow.Cheek Heat® Shop now -
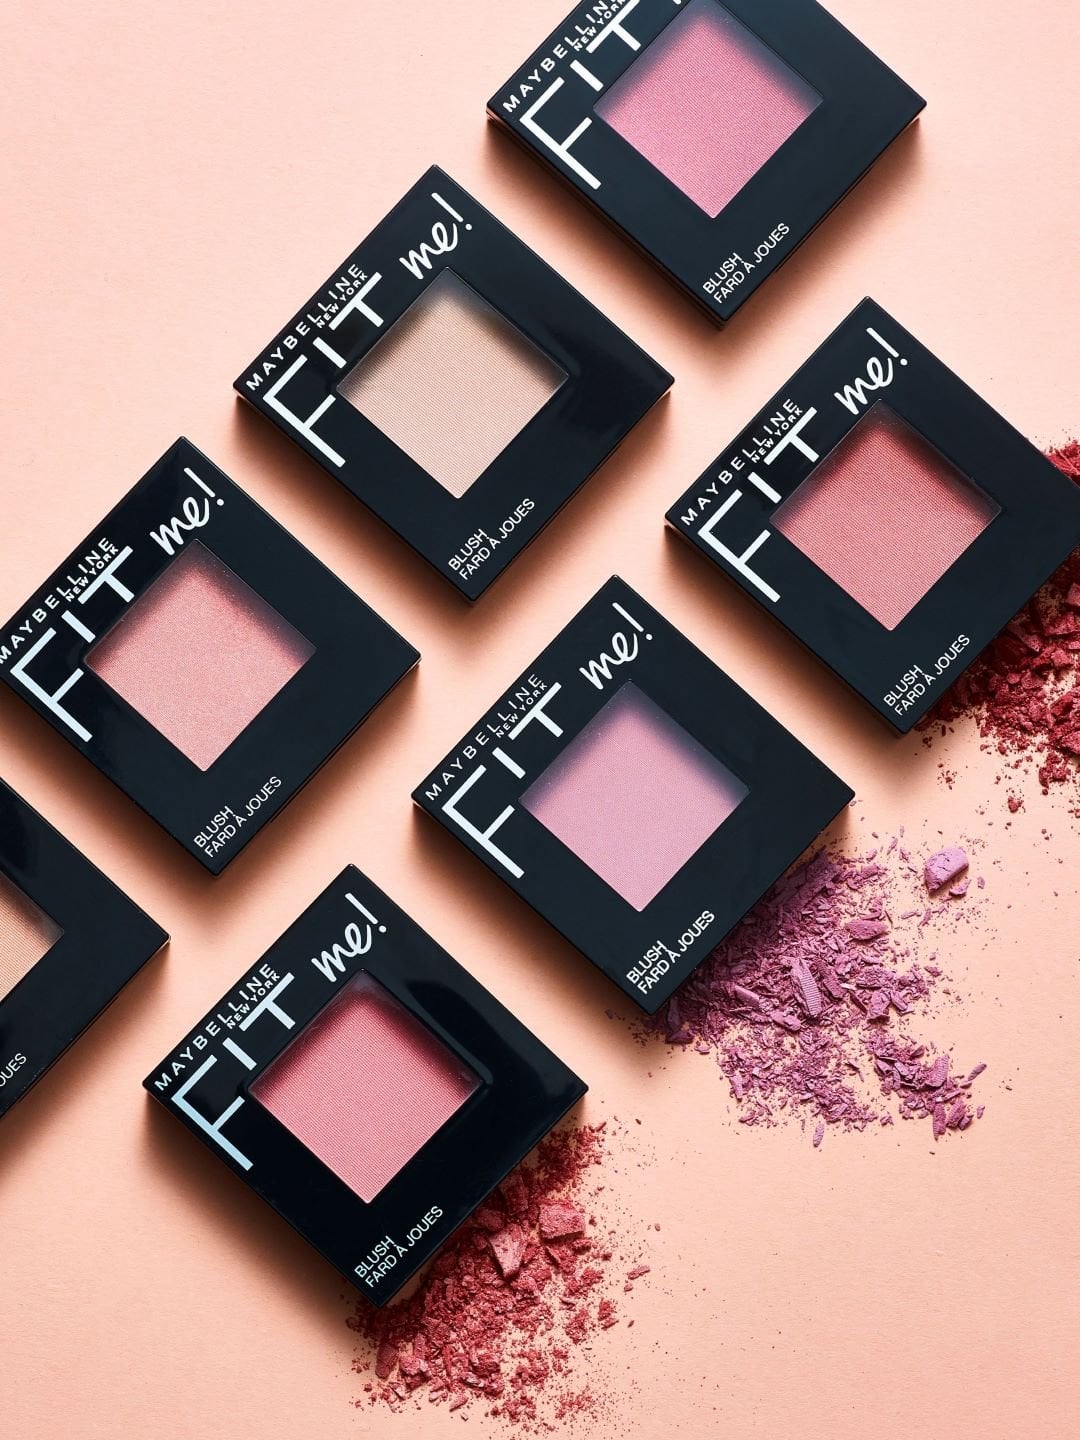
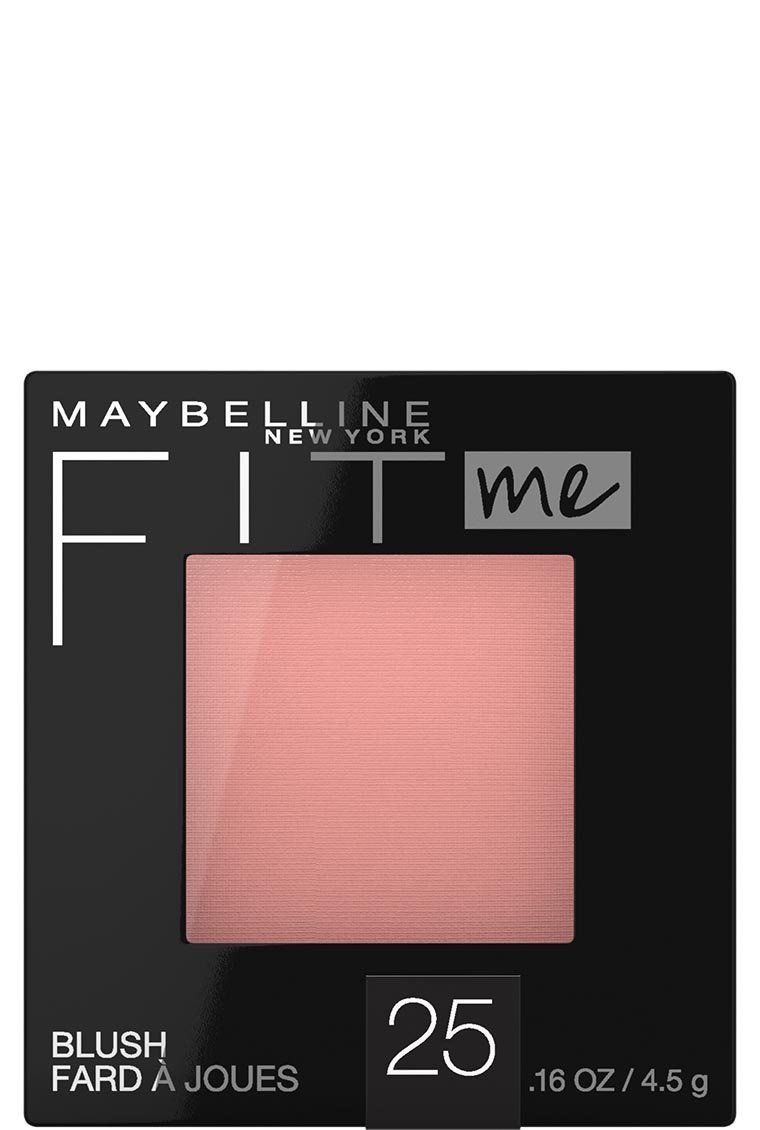
Fit Me® Blush
Available in ten versatile shades for every skin tone, this powder blush offers a radiant finish that feels weightless on the skin. The formula is dermatologist tested and promises to impart a flattering flush.Fit Me® Blush Shop now -
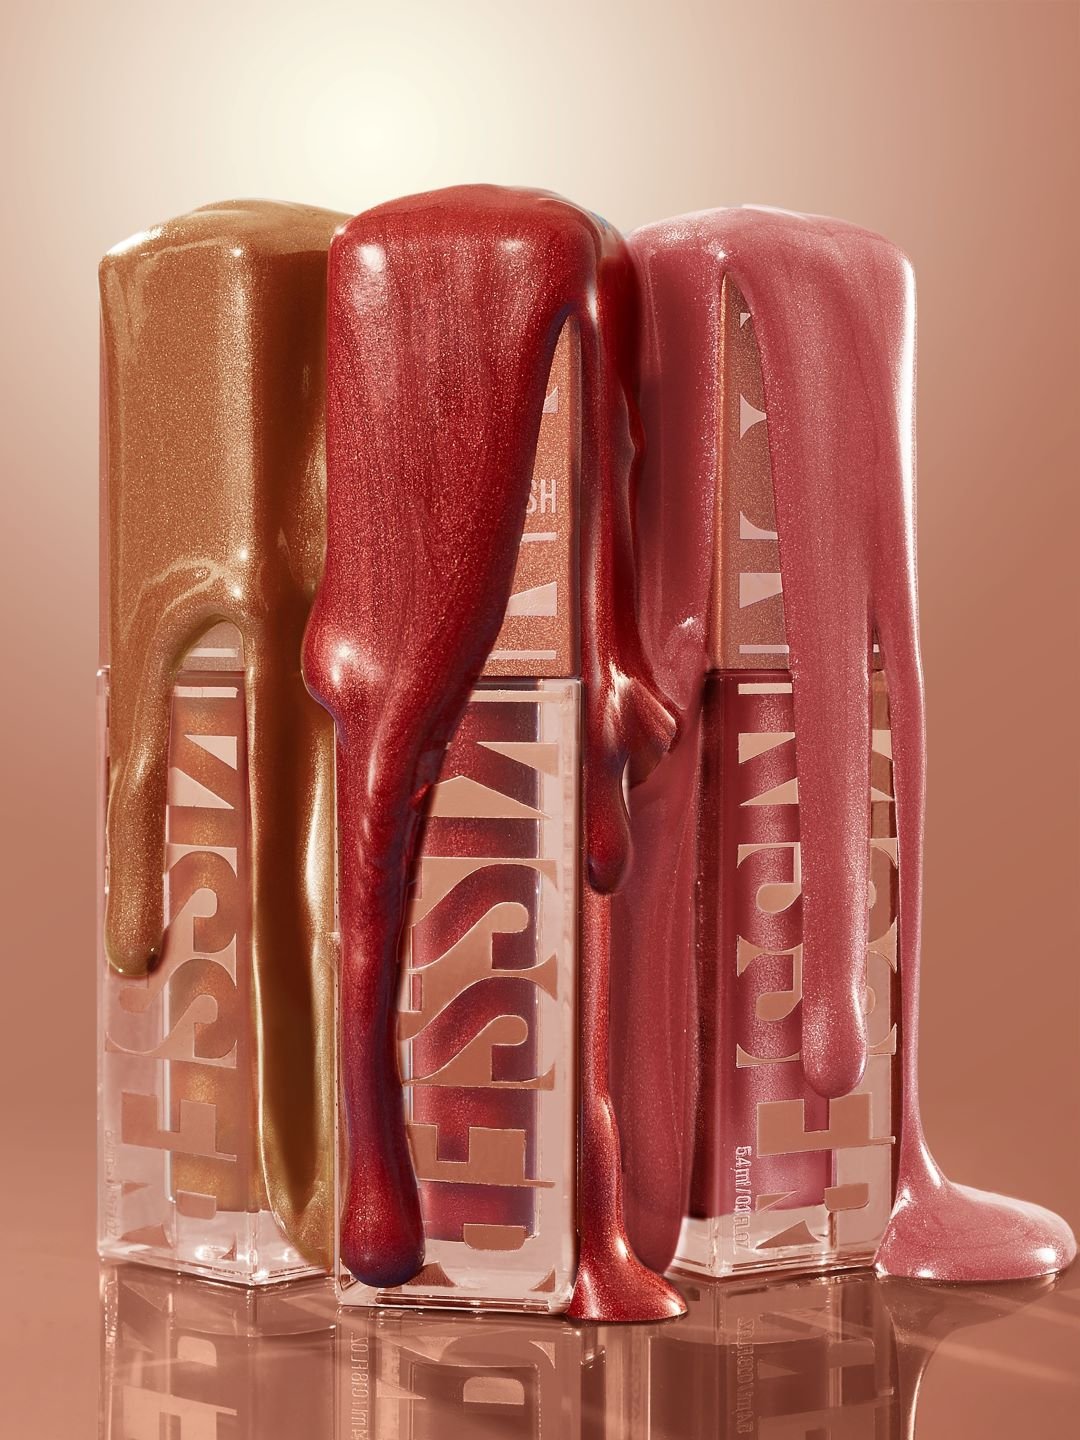
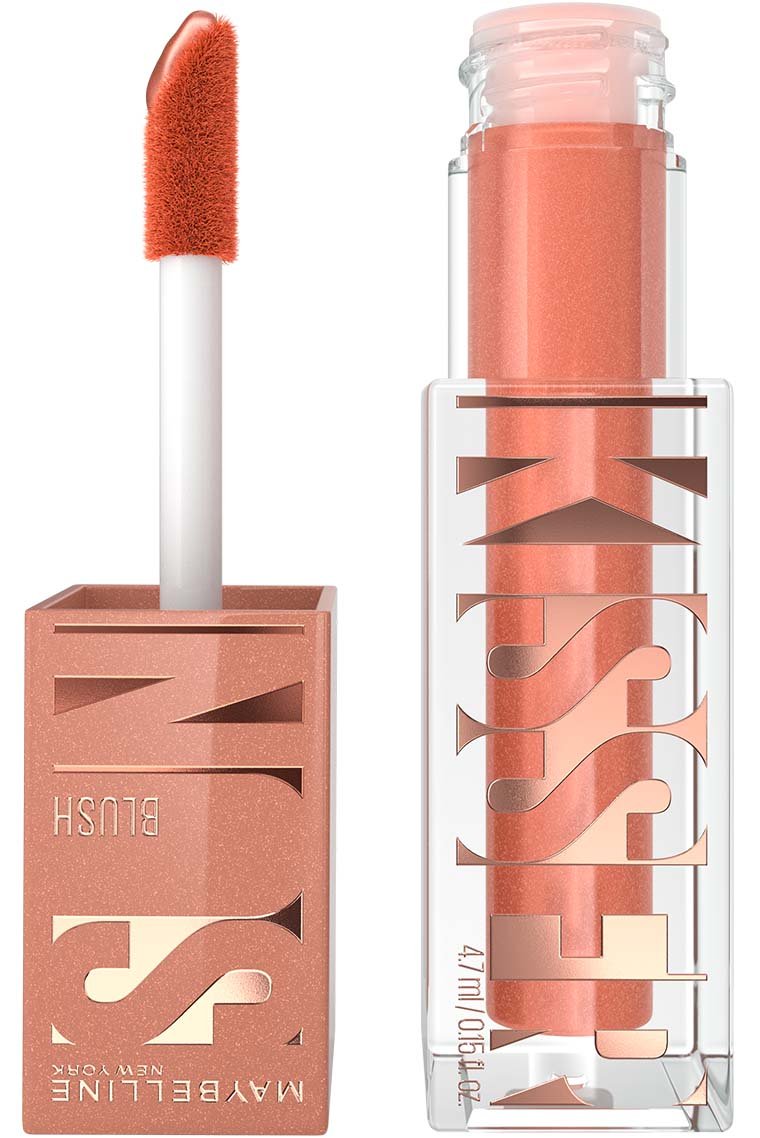
Sunkisser Multi-Use Liquid Blush and Bronzer
Sunkisser Liquid Blush and Bronzer delivers glowy, sunkissed cheeks that last. This liquid blush features an ultra-blendable and buildable formula that melts to skin for a natural glow and up to 12 hours of wear. Available in 10 multi-use blush and bronze shades; mix and match to create any look from a natural flush to a dimensional lit-from-within glow.Sunkisser Shop now -
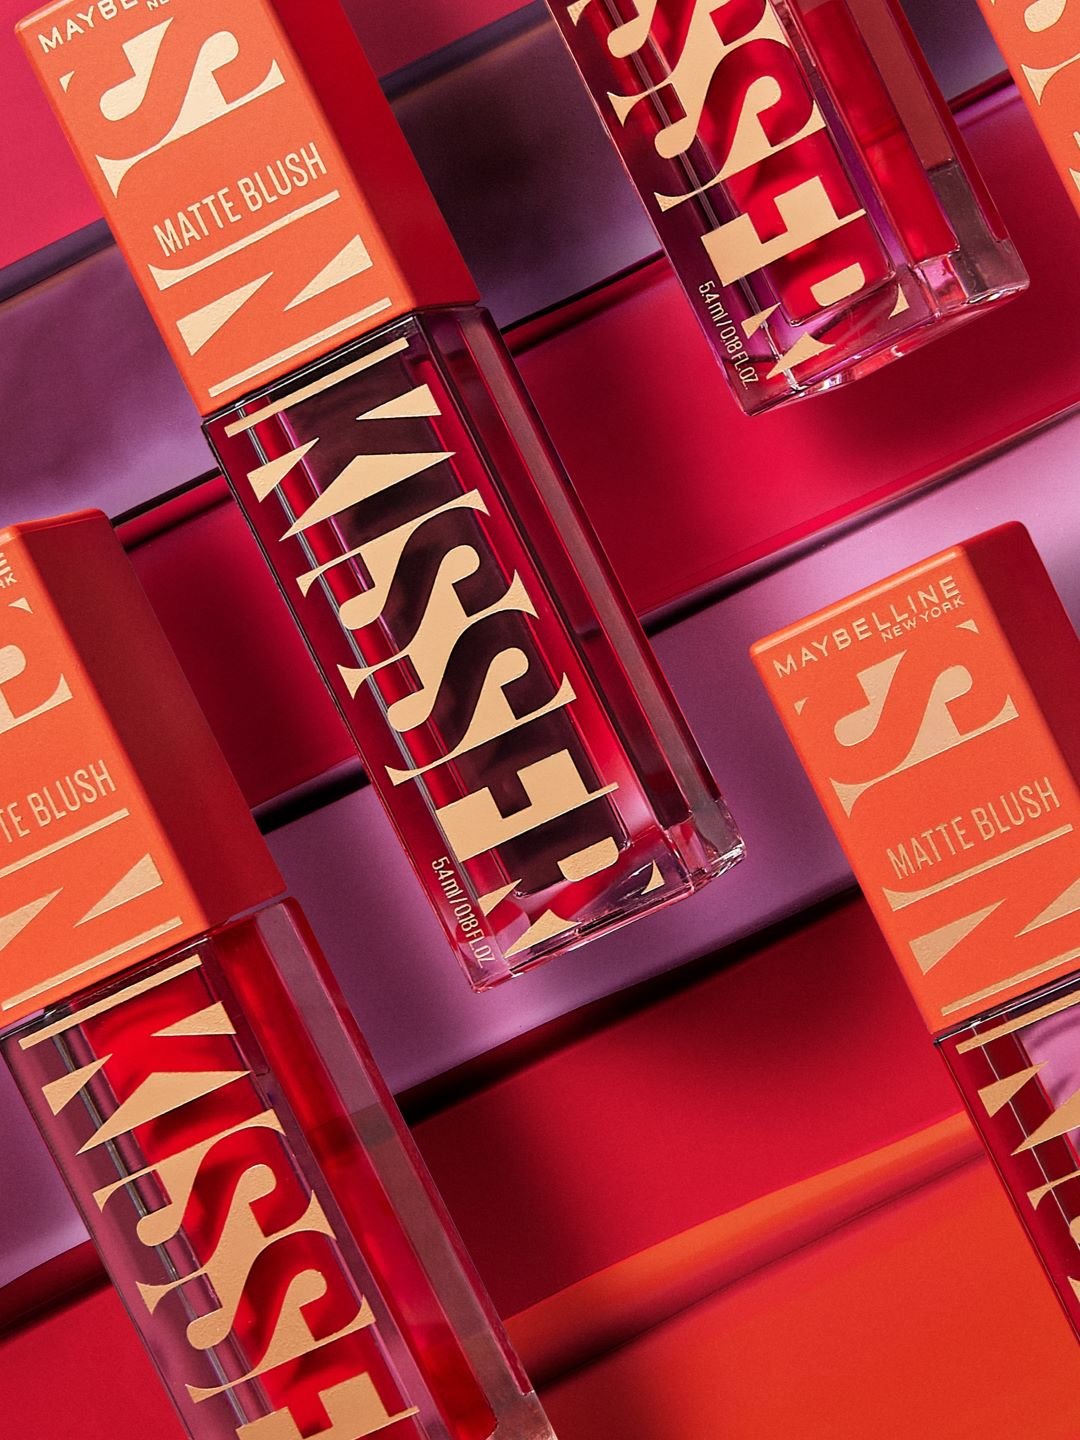
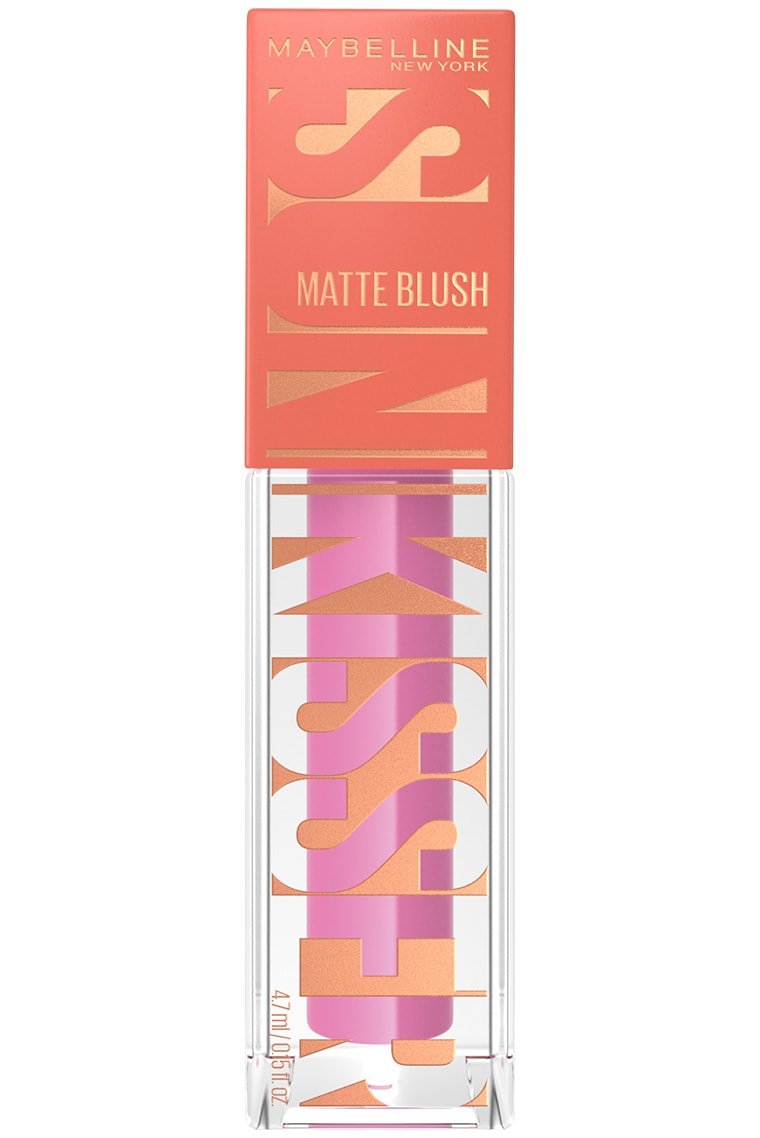
Sunkisser Hazy Mattes Blush
For the liquid application of Sunkisser in a matte rather than glowy finish, try Sunkisser Hazy Mattes. The hazy matte finish features bright colors that flatter all skin tones for a summery look all year round. The liquid formula is designed to melt into skin to be seamless and blendable without sacrificing pigment intensity.Sunkisser Shop now -
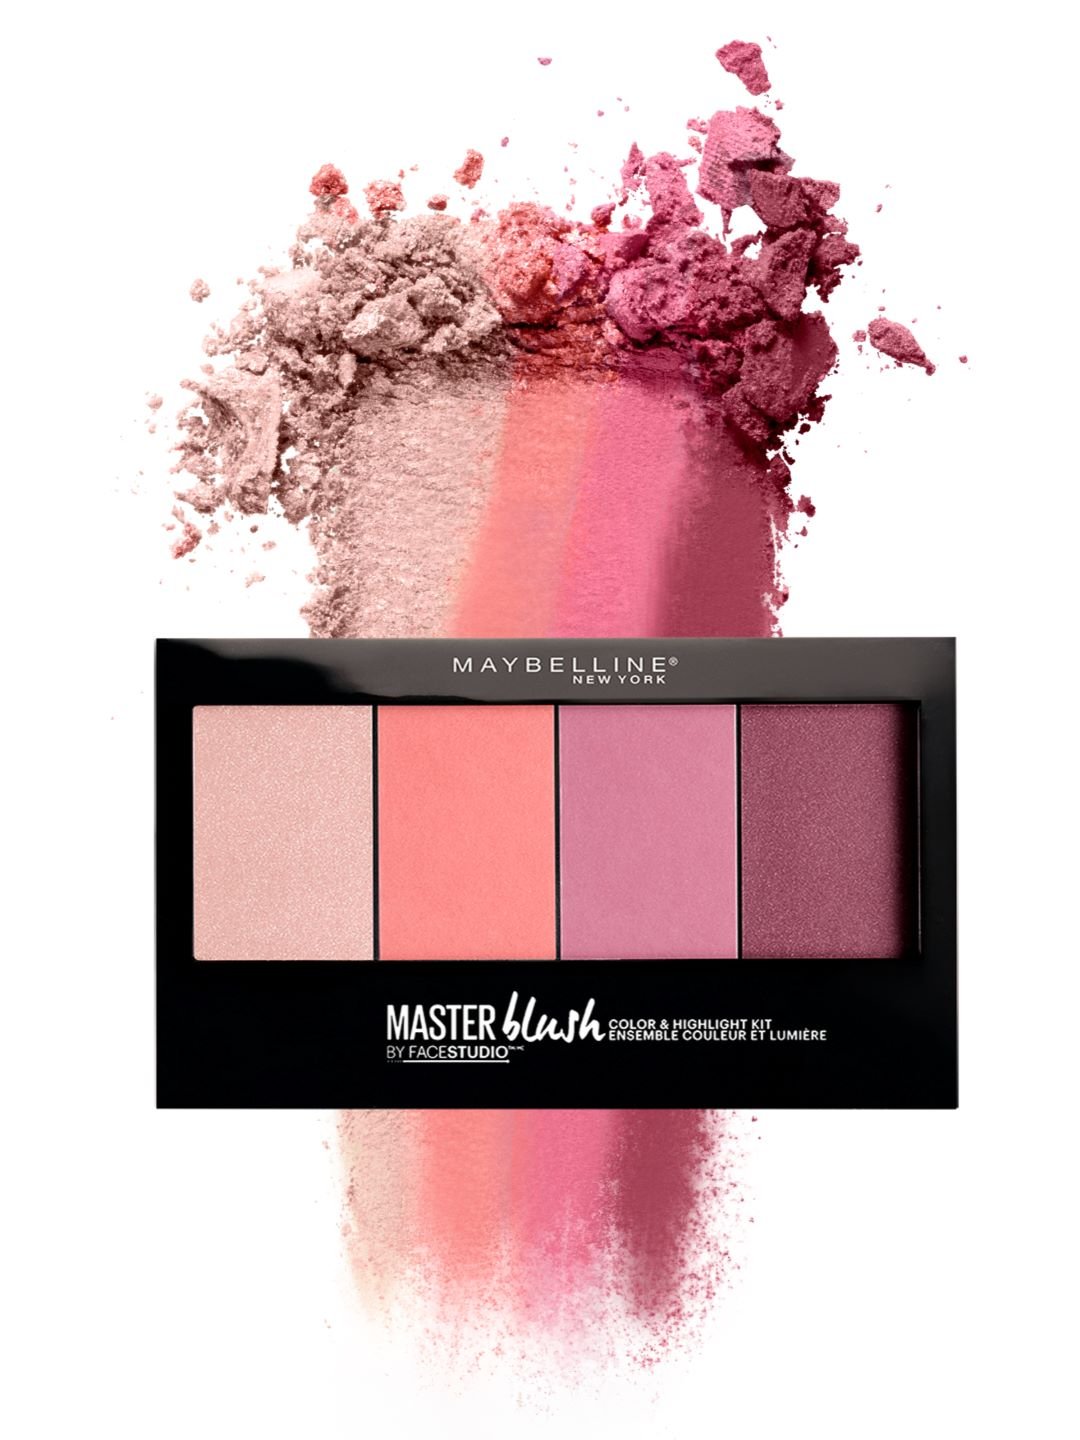
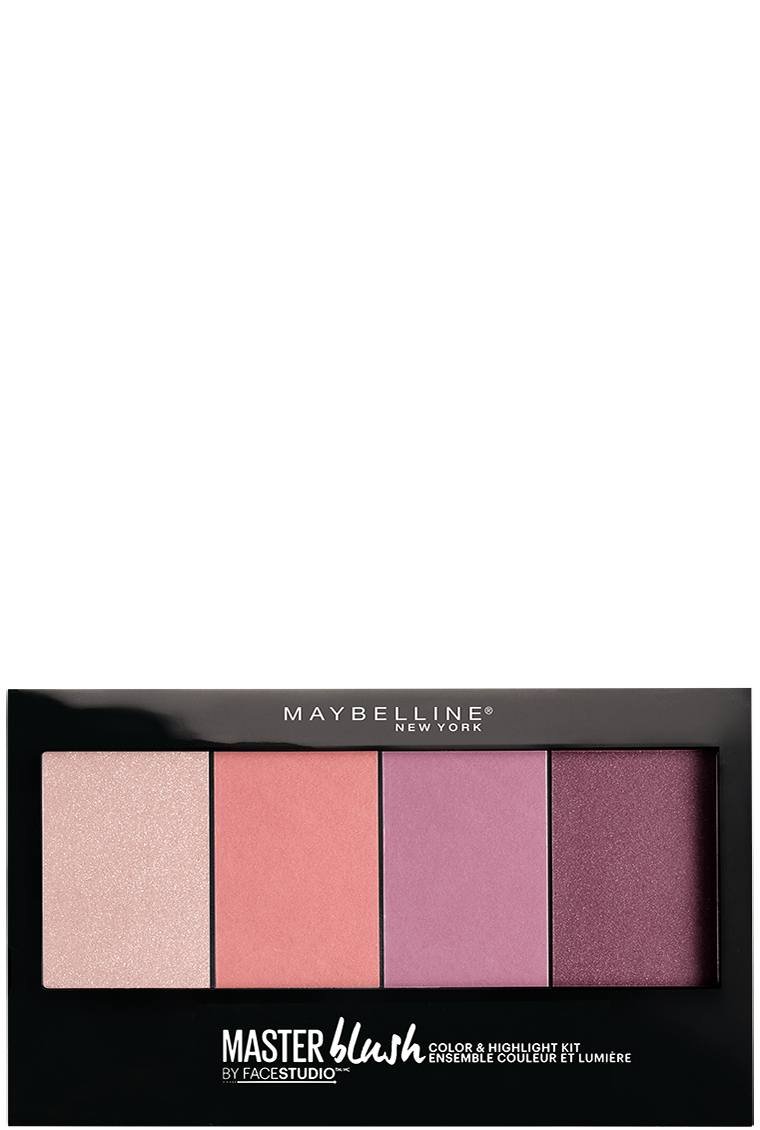
Facestudio® Master Blush Color & Highlight Kit
This convenient palette has everything you need to create a show stopping blush and highlighter look. With three powder blush shades to choose from and a universal highlighter, you’re able to customize your own color!Facestudio® Master Blush Shop now